1. Find the IP Address of the VoIP phone
Once the phone is powered on and connected to the network, the IP address can be found by going to
From your phone, navigate to Menu >> Status >> Network Status >> IPv4 Address. It will be of the form 192.168.XX.XXX
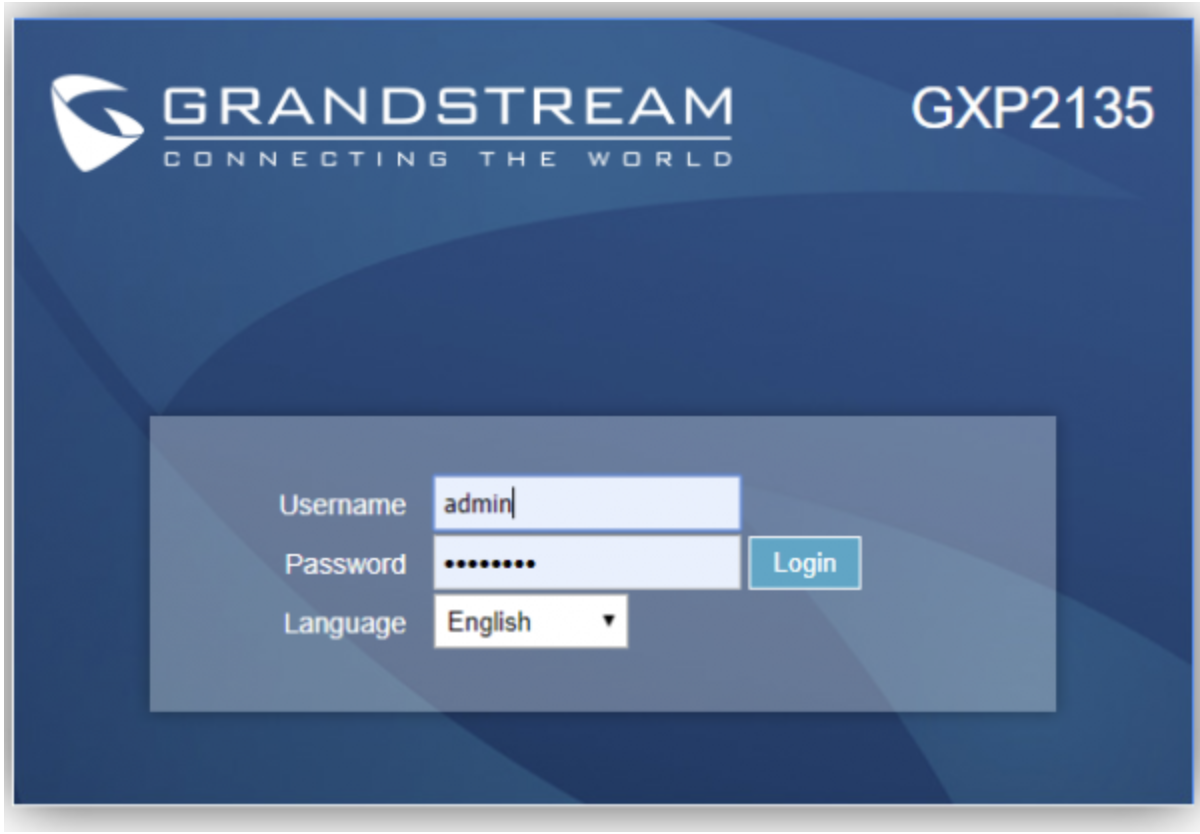
Enter the IP address in the browser of your PC and click on search. Then, we will get the access panel where we must enter the credentials, by default they are the following:
username: admin
password: admin
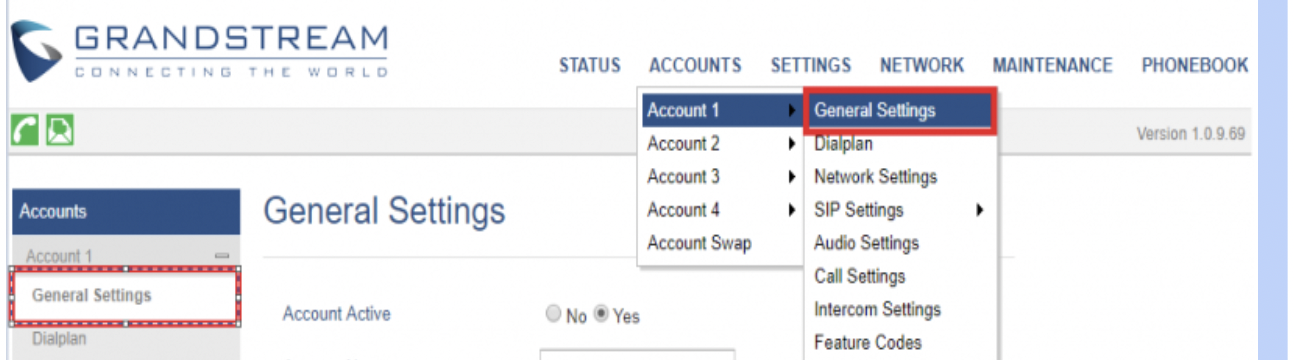
2. Administer Accounts Tab
i. Click on the ACCOUNTS top menu.
ii. Expand the account you’re looking to configure and click General Settings.
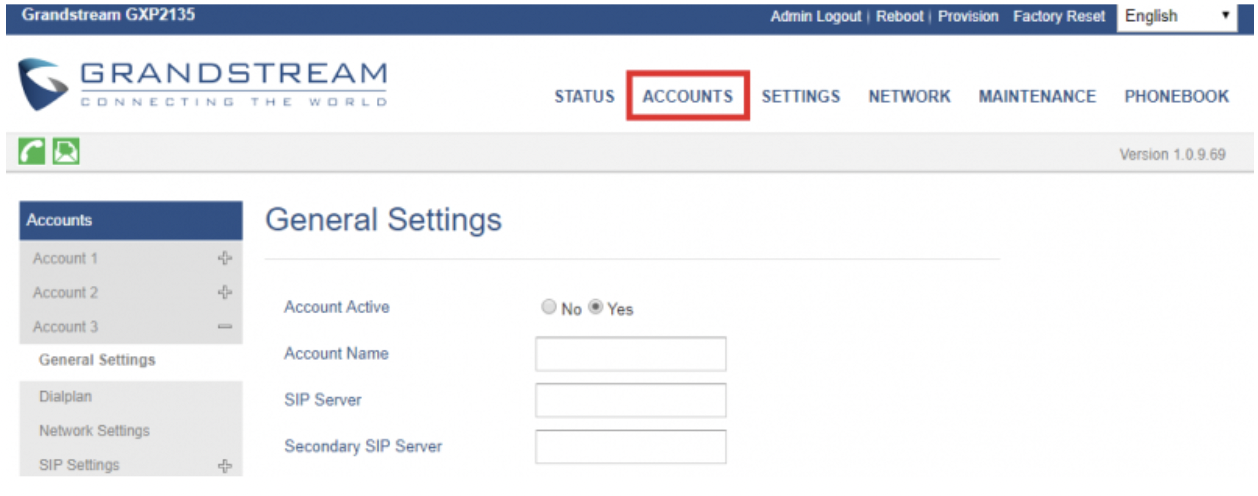
You can also use the top navigation to get here if you want.
- Account Active: Yes
- Account Name: Give it a name that makes sense for you
- SIP Server: Set the SIP Server Port field and the Port field shown under General Information Table in “Configuration Details / Configuration” tab under your Prepaid Platform account (https://prepaid.cypruspbx.com)
- SIP User ID: Set the Register Name field to the SIP User field shown under SIP Users Table in “Configuration Details / Configuration” tab under your Prepaid Platform account (https://prepaid.cypruspbx.com)
- Authenticate Password: Set the Password field to the to the extensions authentication password shown under SIP Users Table in “Configuration Details / Configuration” tab under your Prepaid Platform account (https://prepaid.cypruspbx.com)
- Name: This is the caller ID. Leave it blank

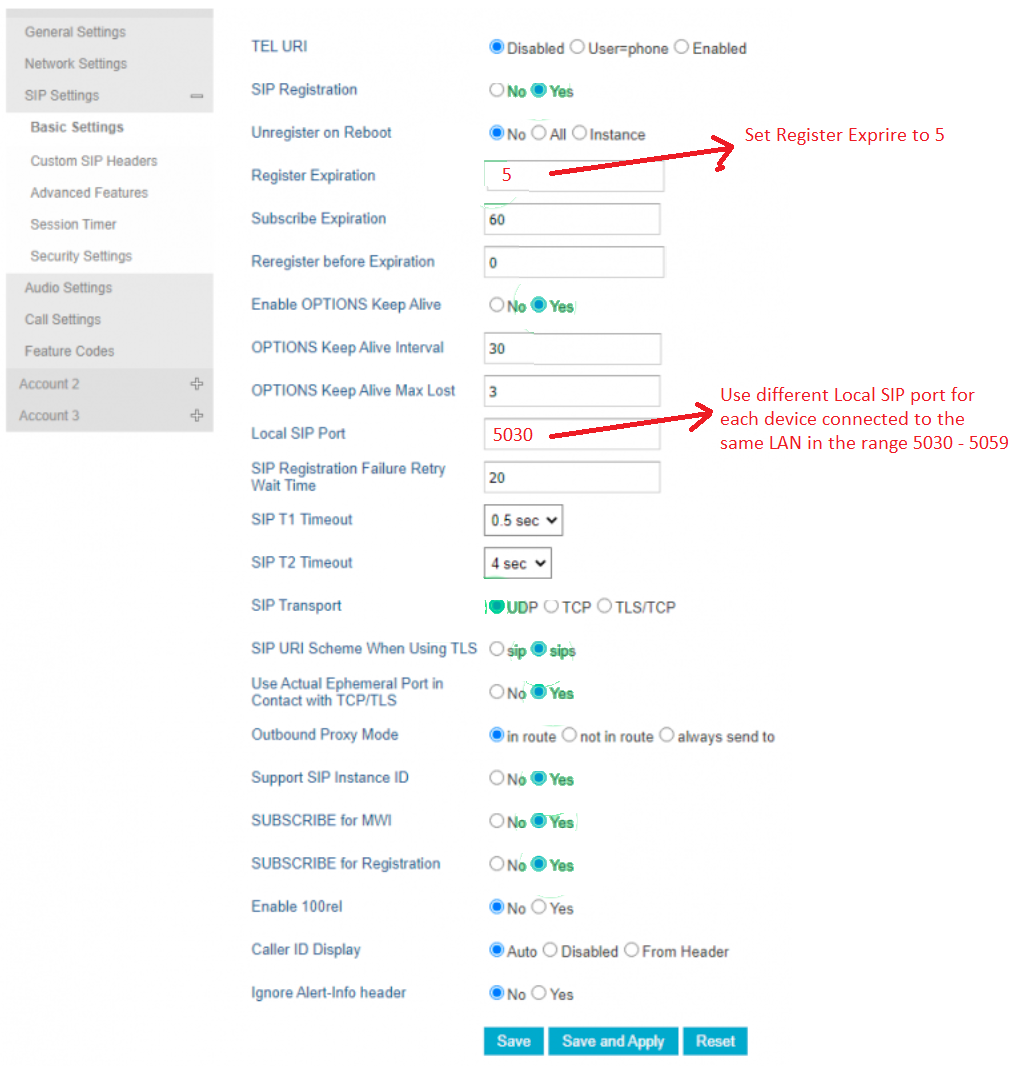
3. Set SIP Settings
Now, while still in Accounts > Account 1 (or the account you want to configure) click on SIP Settings > Basic Settings and provide the following information:
- SIP Registration: Yes
- Register Expiration: 5 (this is in minutes)
- Enable OPTIONS Keep Alive: Yes
- Local SIP Port: Start from 5030 to 5059. For each device in the SAME LAN use a different Local SIP port from the range 5030 – 5059.
- SIP Transport: UDP
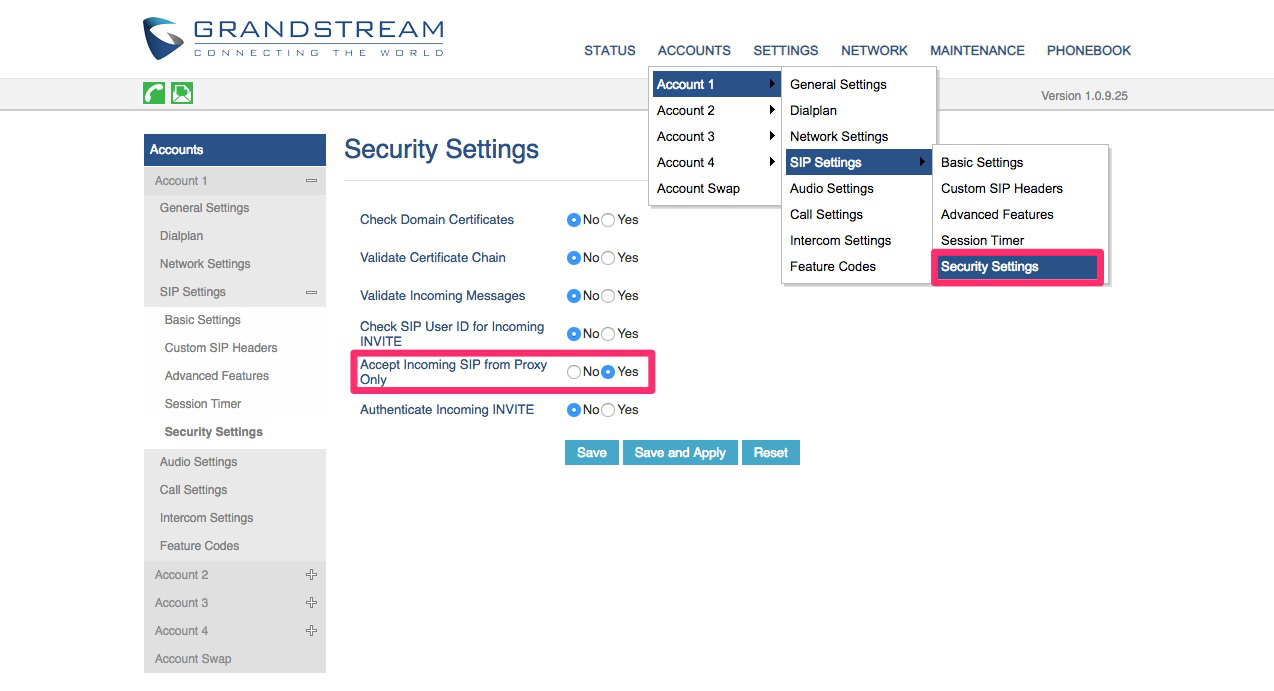
4. Disable Ghost Calls from your Grandstream device
Now, while still in Accounts > Account 1 (or the account you want to configure) click on
- SIP Settings > Security Settings
- Enable the option for “Accept Incoming from SIP Proxy Only”.
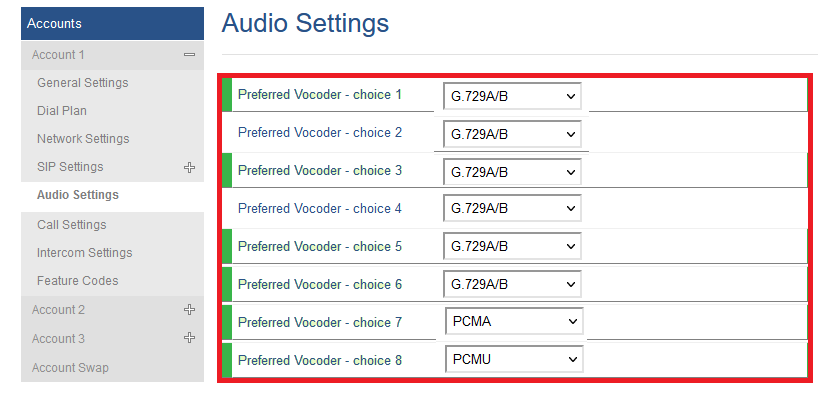
5. Set the proper Codec
Now, while still in Accounts > Account 1 (or the account you want to configure) click on
- Audio Settings
- Set All choices to G.729A/B. Leave the last two choices to PCMA, PCMU
6. Change your Grandstream oIP phone login
password
We strongly recommend to change the VoIP Phone login password (Administrator and User passwords) for security purposes!